 how-to
Smart Home Automation for Large Properties: A How-To Guide
Table of Contents
- Why Smart Home Automation Matters for Large Properties
- Step 1: Assess Your Property and Define Automation Goals
- Step 2: Design Your Home Automation System Architecture
- Step 3: Plan Your Home Automation Network Design for Coverage
- Step 4: Implement Smart Home Heating Control and Climate Management
- Step 5: Integrate Your Smart Home Security System
- Step 6: Plan Installation and Phased Deployment
- Phase 0: Infrastructure First (Before Any Smart Devices)
- Phase 1: Core Control and Network (Weeks 1-2)
- Phase 2: Heating and Climate (Weeks 3-4)
- Phase 3: Security (Weeks 5-6)
- Phase 4: Lighting and Convenience (Weeks 7-8)
- Commissioning: The Step Most Projects Skip
- Documentation and Handover
- Coordination and Trades
- Maintenance After Handover
- Step 7: Test, Commission, and Maintain Your System
- Frequently Asked Questions
Last Updated: October 9, 2026
Why Smart Home Automation Matters for Large Properties
Smart home automation for large properties transforms how you manage comfort, security, and energy use across sprawling estates or commercial facilities.
Properties over 300 square metres typically require distributed control, careful network design, and phased installation to avoid cost overruns.
At BVI Building Services & Controls Ltd, we guide property owners, developers, and facility managers through smart home automation for large properties.
Step 1: Assess Your Property and Define Automation Goals
Start by mapping what you actually want to automate. Most owners skip this and end up with disconnected devices that solve nothing.
Walk through your property and note:
- Comfort pain points: Which rooms are too hot or cold?
- Security concerns: Which entry points matter most? Do you need outdoor monitoring?
- Energy waste: Which systems run 24/7 when they could be scheduled?
Prioritise ruthlessly. A country estate with 10 outbuildings should not start with the garden shed. Focus on the main residence, key entry points, and the biggest energy consumers.
Document your goals in writing, they become your specification:
- Reduce heating costs by scheduling climate control per zone
- Monitor entry doors and outdoor spaces with cameras and smart locks
- Automate lighting based on occupancy and daylight
Step 2: Design Your Home Automation System Architecture
Your system architecture is the skeleton that holds everything together. Get this wrong, and you'll spend years regretting incompatible devices and poor control logic.
A smart home automation system for large properties has three core layers:
- Devices (smart bulbs, locks, cameras, sensors, thermostats)
- Communication protocol (how devices talk to each other: Wi-Fi, Zigbee, Z-Wave, Thread, or proprietary systems)
- Control hub (the central brain that runs automations and handles remote access)
For large properties, protocol choice is critical. Wi-Fi is convenient but power-hungry and struggles with range. Zigbee and Z-Wave mesh networks extend range through device-to-device relay, suiting sprawling estates.
Centralised vs Distributed Control
Centralised control means one hub manages all automations; distributed control spreads logic across multiple hubs or local processors. Centralised is simpler but a single point of failure; distributed is more resilient but harder to maintain. A practical middle ground: one primary hub in the main residence with local rules that work even if it loses internet.
Step 3: Plan Your Home Automation Network Design for Coverage
Network coverage is where most large-property automation projects fail: you design a system, install devices, and discover the signal dies halfway across the property.
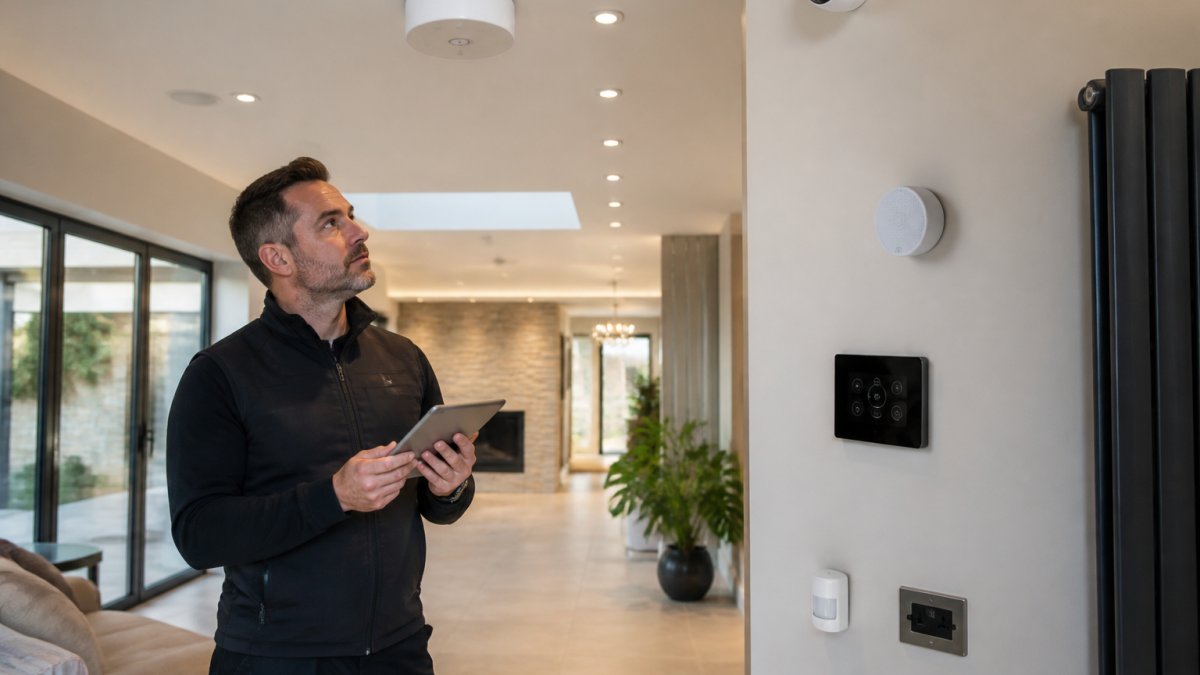
Wireless range depends on protocol, interference, and building materials. Wi-Fi reaches 30-50 metres in open space, but concrete, brick, and metal reduce that.
Start with a Wired Backbone, Not a Mesh
The single most important decision for a large property is a wired backbone. Ethernet between the main residence, outbuildings, and outdoor control points gives a stable, high-bandwidth foundation no mesh can match. Use Cat6 or Cat6a up to 100 metres; beyond that, use fibre or a point-to-point wireless bridge, so you can place Wi-Fi access points exactly where needed.
For most large properties, the network should be built in three layers:
- Core layer: A router or firewall in the main residence, connected to a managed switch. This is where your internet connection, network segmentation, and remote access are controlled.
- Distribution layer: Wired runs to each building, floor, or outdoor zone. Each run terminates in a small switch or access point.
- Access layer: Wi-Fi access points, Zigbee/Z-Wave/Thread border routers, and hardwired devices.
This is the architecture that separates a reliable large-property system from a collection of consumer gadgets.
Access Point Placement and Wired Backhaul
Wi-Fi access points should sit on ceilings or high walls, not inside cupboards or behind furniture. Plan for one access point per 70-100 square metres of open-plan space, more where walls are thick or floors solid, each connected by Ethernet backhaul to the core switch. Wireless mesh backhaul halves throughput at every hop and is a poor choice for multi-building properties.
Controller and Hub Location
Your primary automation hub should live in a central, ventilated location, a comms cupboard or plant room, with a wired connection to the core switch. Don't hide it in a basement corner where heat and dust shorten its life. If you use multiple hubs, connect them over the wired network so they share state and avoid conflicting automations.
Linking Distant Structures
Outbuildings, gatehouses, and garden rooms are the hardest part of any large-property network. Options include:
- Direct burial Ethernet: Best for runs under 100 metres. Use gel-filled, UV-resistant cable and surge protection at both ends.
- Fibre optic: Best for runs over 100 metres or where electrical isolation is needed. Requires media converters or fibre-capable switches.
- Point-to-point wireless bridge: Useful where digging is impractical. Choose licensed or clean 5 GHz spectrum and align units carefully.
Test Before You Commit
Before buying dozens of devices, test coverage. Walk the property with a Wi-Fi survey tool or ask your installer to perform a site survey with a spectrum analyser, recording signal strength, noise, and channel overlap in every zone. Identify dead spots and plan access points or wired runs to fix them.
Network Segmentation and VLANs
A large property will have many connected devices: cameras, locks, sensors, thermostats, entertainment systems, and personal devices. Put them on separate VLANs, trusted personal devices, IoT, cameras, guest access. This limits damage if a device is compromised and reduces broadcast traffic that can slow a large network.
Document Everything
As you build the network, label every cable, port, and access point, and keep a simple diagram showing the core switch, distribution runs, access points, and hub locations. Without this documentation, even a well-designed network becomes unmanageable within a year.
Step 4: Implement Smart Home Heating Control and Climate Management
Smart home heating control is where large properties see the biggest energy savings. Heating and cooling consume 40-50% of energy use in residential properties, and automating schedules and zoning cuts that dramatically.
Set up scheduling rules:
- Heat main living areas to 21°C during occupied hours
- Reduce secondary bedrooms to 16°C overnight
- Drop temperature in unused wings to 12°C (freeze protection only)
Smart thermostats learn occupancy patterns and adjust automatically, and some integrate with your calendar or smartphone location to detect when you're returning home. For commercial or multi-unit buildings, building energy management systems (BEMS) track consumption per zone, predict demand, and optimise heating schedules.
Step 5: Integrate Your Smart Home Security System
Smart home security system integration ties cameras, locks, motion sensors, and alarms into one coherent system. For large properties, this is essential, you cannot monitor 15 rooms and 5 entry points with manual checks.
Start with entry points:
- Smart locks on main doors, gates, and outbuildings
- Smart doorbells with cameras and two-way audio
- Motion sensors in gardens, driveways, and outdoor spaces
Integrate these into a single app or dashboard: when a motion sensor detects movement at the gate, trigger outdoor lighting and send a smartphone alert; when a door opens unexpectedly, log the event and notify you.
Step 6: Plan Installation and Phased Deployment
Installing smart home automation for large properties is not a weekend project. Plan phased deployment over weeks or months, with clear commissioning and handover at each stage. The sequence below is a practical framework; adjust it to your property and trades.
Phase 0: Infrastructure First (Before Any Smart Devices)
Before you install a single smart bulb, get the infrastructure right:
- Power: Ensure each device location has a suitable power source. Many smart switches need a neutral wire; older properties may not have one.
- Network: Install the wired backbone, core switch, and access points as described in Step 3. Test coverage in every zone.
- Containment: Run conduit or cable trays for future runs; adding cable later through finished walls is expensive and disruptive.
This phase is unglamorous but determines whether the rest of the project succeeds.
Phase 1: Core Control and Network (Weeks 1-2)
- Install the primary hub or controller in its central location.
- Connect it to the core switch and configure remote access.
- Set up VLANs and network security.
At the end of this phase, you should be able to log in remotely and confirm the system is stable.
Phase 2: Heating and Climate (Weeks 3-4)
- Install smart thermostats and zone valves.
- Configure heating schedules and occupancy rules per zone.
- Test each zone independently: does the boiler respond? Do radiators heat evenly? Does the schedule override correctly?
Phase 3: Security (Weeks 5-6)
- Install smart locks, doorbells, and cameras at entry points.
- Position motion sensors and window/door sensors.
- Integrate everything into the controller and set up alerts.
Phase 4: Lighting and Convenience (Weeks 7-8)
- Install smart switches and bulbs.
- Create occupancy-based lighting rules and scenes.
- Test automations for morning, evening, and away modes.
Commissioning: The Step Most Projects Skip
Commissioning proves that every device, automation, and integration works as intended, it is not the same as installation. Work through a checklist:
- All devices respond to app and voice commands
- Automations trigger on schedule
- Automations trigger on sensor events (motion, door open, temperature threshold)
Test failure scenarios deliberately: unplug a device and confirm automations continue, disconnect the internet and confirm local rules still run, simulate a power cut and check critical systems recover. These tests reveal brittleness early, when it is cheap to fix.
Documentation and Handover
A large-property automation system will outlive the installer. Handover should include:
- A network diagram showing switches, access points, and cable runs
- A device inventory with model numbers, locations, and firmware versions
- A list of automations and their triggers
Without this, even a well-installed system becomes a black box within a year.
Coordination and Trades
Coordinate trades carefully. Upgrading heating, electrical, and network infrastructure simultaneously invites delays and cost overruns if coordination is poor. Appoint a single point of responsibility for the automation system who coordinates with the electrician, heating engineer, and network installer, avoiding each trade blaming the other when something fails.
Maintenance After Handover
Maintenance is ongoing. Update device firmware regularly, especially security patches. Monitor network health and replace batteries in wireless sensors annually. Review automations yearly and adjust schedules as property use changes. For large properties, consider a maintenance contract so a professional monitors system health, replaces failed devices, and updates firmware, especially valuable for commercial properties where downtime costs money.
Step 7: Test, Commission, and Maintain Your System
Smart home automation for large properties is complex, but the payoff is real: reduced energy costs, improved security, and convenience smaller properties cannot match.
At BVI Building Services & Controls Ltd, we help property owners and facility managers navigate this complexity. If you're planning smart home automation for a large property, contact us for a consultation and discover how coordinated engineering delivers results.
Frequently Asked Questions
How do you plan smart home automation for a large property?
Start by mapping your property's layout, identifying zones, and documenting existing systems. Define priority areas: security, heating control, and lighting typically come first. Assess network coverage across the entire property, then choose a system architecture that supports your scale. Work with a professional to design device placement, wiring, and control protocols. Finally, create a phased deployment plan that minimises disruption. Large properties benefit from centralised control hubs that manage multiple zones independently.
What's the difference between centralised and distributed smart home automation systems?
Centralised systems route all control through a single hub or server, offering unified management but creating a single point of failure. Distributed systems use multiple local controllers for different zones, providing resilience and allowing independent operation if one zone loses connectivity. For large properties, a hybrid approach often works best: a central management interface for scheduling and remote monitoring, with local controllers handling heating, lighting, and security in each zone independently.
How can you make smart home devices communicate reliably over a large area?
Use mesh-network protocols like Zigbee or Z-Wave that allow devices to relay signals across the property, extending range without additional infrastructure. Plan wireless access points strategically to cover dead zones. Consider wired connections for critical devices like security cameras and heating controllers. Test signal strength throughout the property before full deployment. For properties larger than 500 square metres, professional site surveys help identify optimal placement and prevent connectivity failures.
What should I prioritise when automating a large property?
Begin with security systems and access control, as these protect your investment immediately. Next, implement smart heating control to reduce energy costs and improve comfort. Then add lighting automation for convenience and further efficiency gains. Finally, integrate cameras, sensors, and scheduling routines. This sequence allows you to gain confidence in each layer before adding complexity, and spreads costs across phases rather than requiring one large upfront investment.